A Complete Guide to Hiking Mt. Hallasan – the Highest Peak in South Korea!
Are you looking for a little challenge on your next trip to Jeju Island and wondering whether hiking Mt. Hallasan is for you? Or are you already determined to do so and now you are simply looking for the details you need to start planning?
No matter where you are, in this guide to hiking Mt. Hallasan, we will be covering it all. We hiked to the peak of Mt. Hallasan as part of our Jeju Island trip in June. And, to be honest this hike ended up being one of our Jeju Island highlights!
In this guide we give you the information you need to plan a successful hike up to the summit of Mt. Hallasan. We will answer the questions of how to get to the trail head, what to pack, how fit you should be and where to get your permit to access the hike among other things.
We also share our own experience hiking the Gwaneumsa Trail as well as some things we learned along the way that might be helpful to you!
Note: We use affiliate links in this post. They are marked by an *, so you can recognize them in advance. By interacting with these links, you can support us and our website at no extra cost to you! For more information, read our Disclaimer.
Complete Guide to Hiking Mt. Hallasan
Mt. Hallasan is actually a volcano, located on the South Korean island of Jeju. But, don’t worry, Hallasan used to be an active volcano until about 5.000 years ago, nowadays it is classified as ‘dormant’.
With its 1950 meters of height, it is the highest peak in all of South Korea. This makes it a perfect site for everyone that seeks a little challenge while traveling around Jeju.
Since this guide is aimed at people who wish to reach the summit of Mt. Hallasan, we will only be looking at Gwaneumsa as well as Seongpanak Trail. The latter are probably the most strenuous, but at the same time the only hiking trails within Hallasan National Park that actually go up to the summit of Mt. Hallasan.

Is it hard to hike Mt. Hallasan? How fit should you be?
Let’s first tackle this question for all of those that are not yet sure if hiking Mt. Hallasan is something they can achieve. There is of course no universal way to measure whether you are fit enough to do this hike or not. But, there are a few things you can consider when thinking about it.
Compared to hiking Mt. Fuji for instance, hiking Mt. Hallasan was easier, since the component of altitude sickness just was not a thing. Typically altitude sickness starts occurring at elevations of more than 2.500 meters. The peak of Mt. Hallasan is located well below that elevation, so no problems there.
Nonetheless, hiking Mt. Hallasan is definitely a challenge. From a fitness point of view, you should have enough endurance to be able to at least walk between 15-20 kilometres a day without too much trouble. And then, factor in the elevation gain that will come on top of that.
If you read this and think, ‘Well I can do that!’, then you are probably good to go. By no means do you need to be a mountaineer to hike Mt. Hallasan.
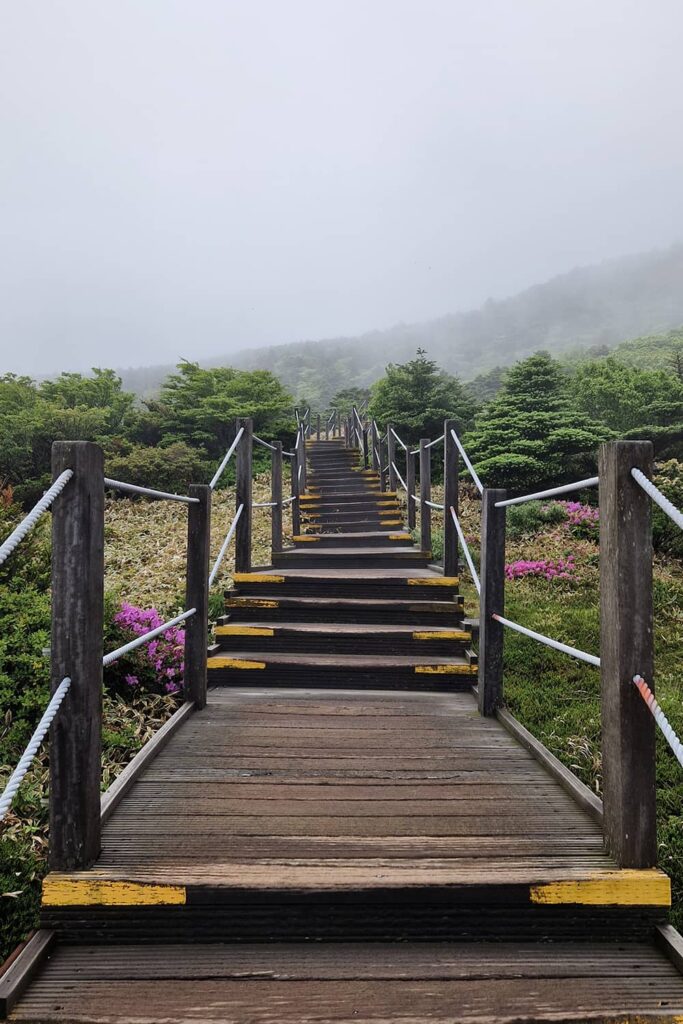
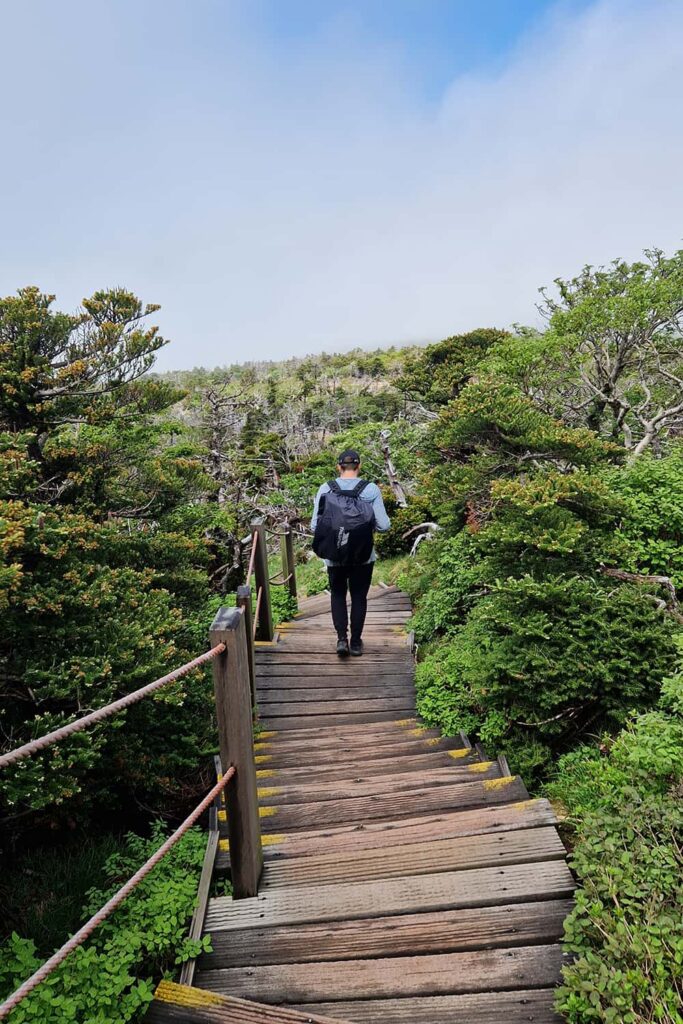
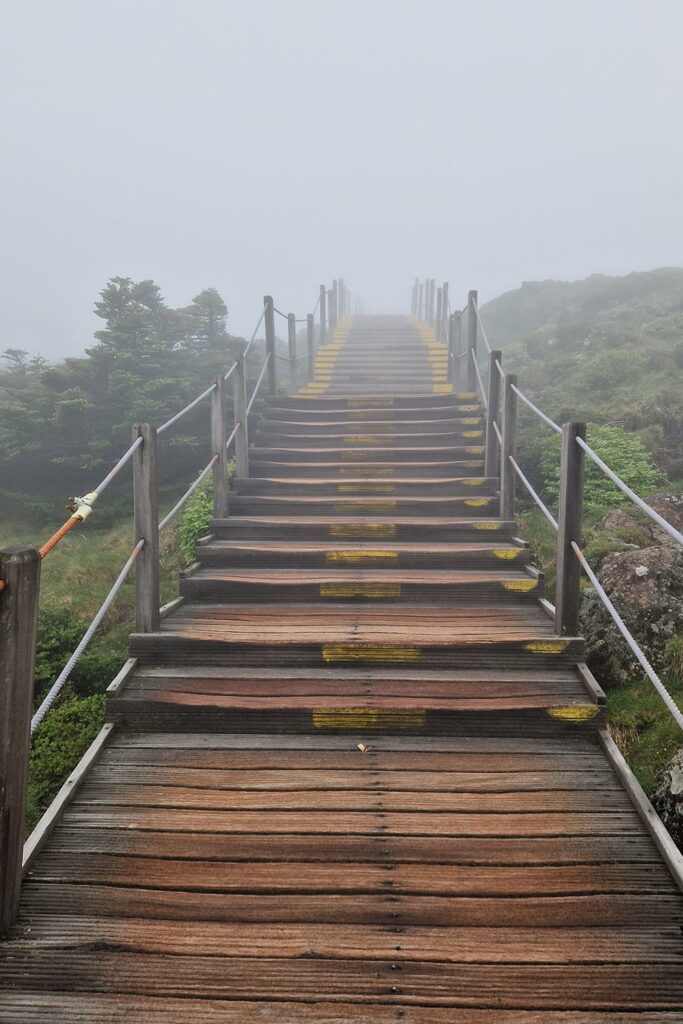
If you are thinking, ‘Maybe I need a bit more training…’, start by taking the stairs more often instead of the elevator. Because, for instance Gwaneumsa Trail mostly consists of stairs so that will make it easier for you. Also try to get your steps in everyday for a while before the hike!
How long does it take to hike Mt. Hallasan?
Hiking to the summit of Mt. Hallasan is something that is done in one day, meaning you will get to the summit of Mt. Hallasan and back down on the same day. Typically the hike will take between 7-10 hours, depending on the trail as well as your fitness.
The Trails: Gwaneumsa vs. Seongpanak Trail
Now that you are determined to hike to the summit of Mt. Hallasan, the next question you need too answer is: Which trail are you going to take? Gwaneumsa Trail or Seongpanak Trail? Or both? We’ll get to the latter in a second. But first let’s look at both of them individually.
Gwaneumsa Trail
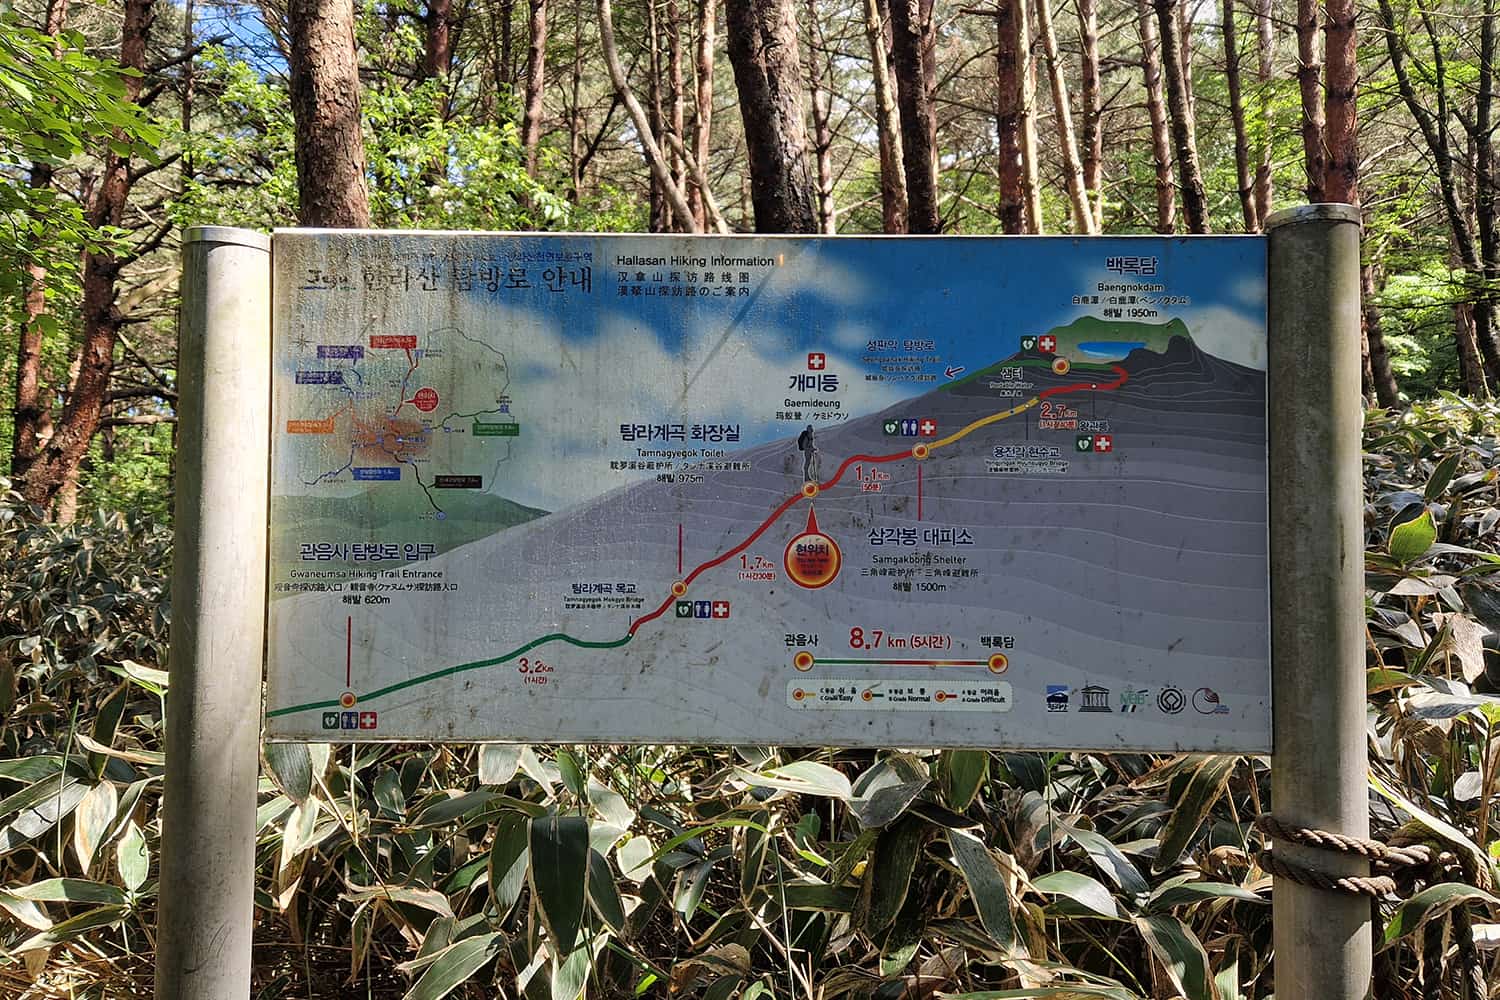
- Distance: 8.7 kilometers (one-way)
- Elevation Gain: 1.330 meters
- Difficulty: hard
- Need a Reservation?: Yes
PRO: The general consent is that Gwaneumsa Trail is way more scenic. And in terms of distance, it is a little shorter as well.
CON: However, it is steeper and therefore harder than its counterpart. Also Gwaneumsa Trail is harder to reach on public transport, but more on that later.
Seongpanak Trail
- Distance: 9.6 kilometers (one-way)
- Elevation Gain: 1.200 meters
- Difficulty: hard
- Need a Reservation?: Yes
PRO: Seongpanak Trail is gentler in terms of elevation gain and therefore a little easier. It is also more accessible by public transport.
CON: When looking at the distance, it is a little bit longer. And, in general, it is considered to be the less scenic one among the two hikes.
So, which one do you choose?
If you absolutely cannot decide which one to take you should know the following. Both trails meet at the top of Mt. Hallasan. This means that you can take one of them to get to the top and the other one to get back down.
We chose to hike Gwaneumsa Trail (both ways), because the part about it being more scenic was more important to us than the fact that it is a little harder. We absolutely do not regret having chosen Gwaneumsa Trail to get to the top.
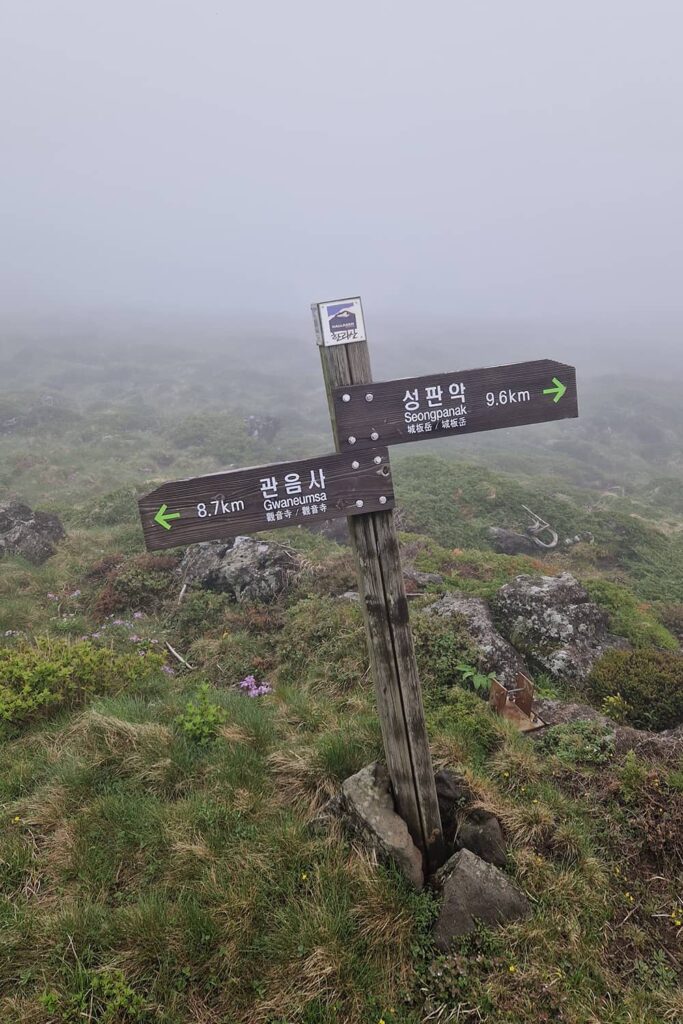
What we might have done differently though, if we were to do it all over again, is taking Seongpanak Trail to get back down. One, because that way we would have done both of them. Two, Gwaneumsa Trail was gnarly on the way down and not very gentle on the knees either. Sounds like we are 100 years old but trust me, try walking down that many uneven stairs and your knees will start to talk to you!
Where to stay before hiking Mt. Hallasan
The best place to stay the night before hiking Mt. Hallasan actually depends quite a bit on which hike you end up choosing and whether you plan to get there by car or by bus.
Where to stay before hiking Gwaneumsa Trail
If you plan on hiking Gwaneumsa Trail, we would suggest staying in or near Jeju-City. The trail entrance is located on the north side of Mt. Hallasan National Park, which is why Jeju-City is closer.
If you plan on taking the bus to get to the trail head, look for hotels that are located close to a bus stop of one of the bus lines (see next section) you need to take to get there. If you plan on getting there by car, any hotel with a parking lot in the area will do;).
🛏️ Book your accommodation in/near Jeju-City*!
Where to stay before hiking Seongpanak Trail
Since the Seongpanak trail entrance is located to the east of Mt. Hallasan, it can actually quite easily be reached from either Jeju-City or Seogwipo.
Same as before, if you plan on taking the bus to get to the trail entrance of Seongpanak Trail, stay close to a bus stop of one of the busses you will need to take to get there (find out which one those are in the next section). If you plan on getting there by car, any hotel with a parking lot will do.
🛏️ Book your accommodation in/near Jeju-City*!
🛏️ Book your accommodation in/near Seogwipo*!
How to get to Mt. Hallasan?
In this section we will now go over the different possibilities you have to get to the starting point of Gwaneumsa as well as Seongpanak Trail.
How to get to Gwaneumsa Trail?
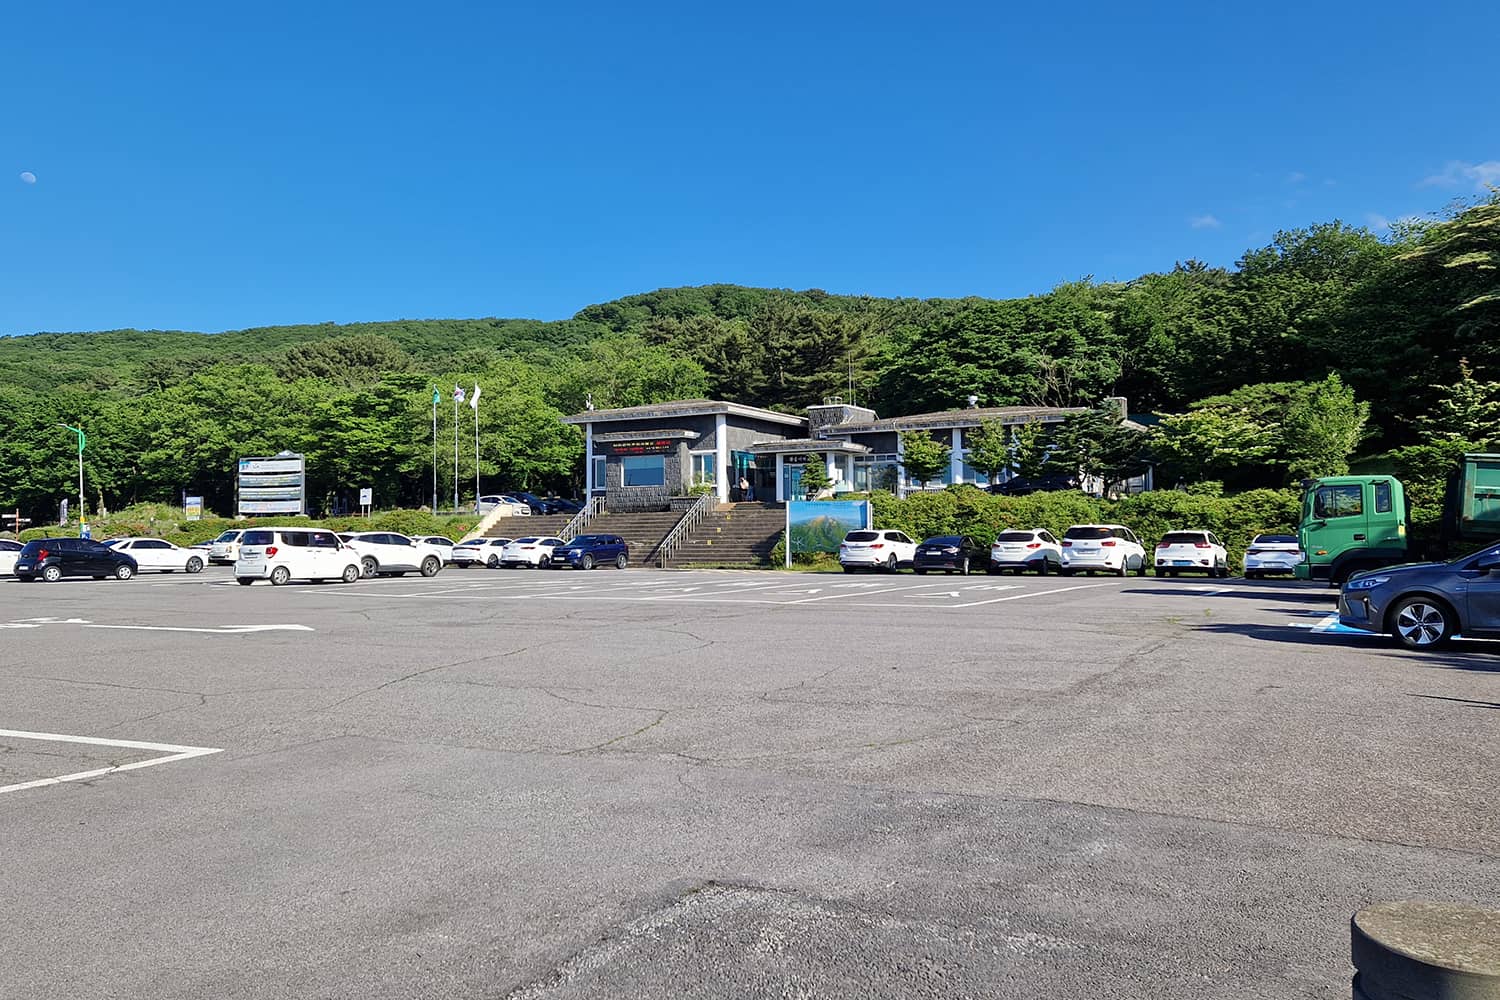
The starting point of Gwaneumsa Trail is located next to the Gwaneumsa Information Center (Address: 588 Sallokbuk-ro, Jeju-si, Jeju-do, South Korea). And there is a bus stop located right in front (called: 관음사탐방로입구).
One way to get there from Jeju City is by first taking one of the following busses: 232, 281, 212 or 222. And then, change at the bus stop 사회복지법인 춘강 / ‘Choonkang Social Welfare Incorporated’ on to the bus 475, until you reach your destination.
Depending on where you stay within the city, the first bus you will have to take might change. But ultimately you will need to take the bus 475, since it is the only one that can get you to the Gwaneumsa trail head. The whole process of getting there should take about 45 minutes when choosing a good connection.
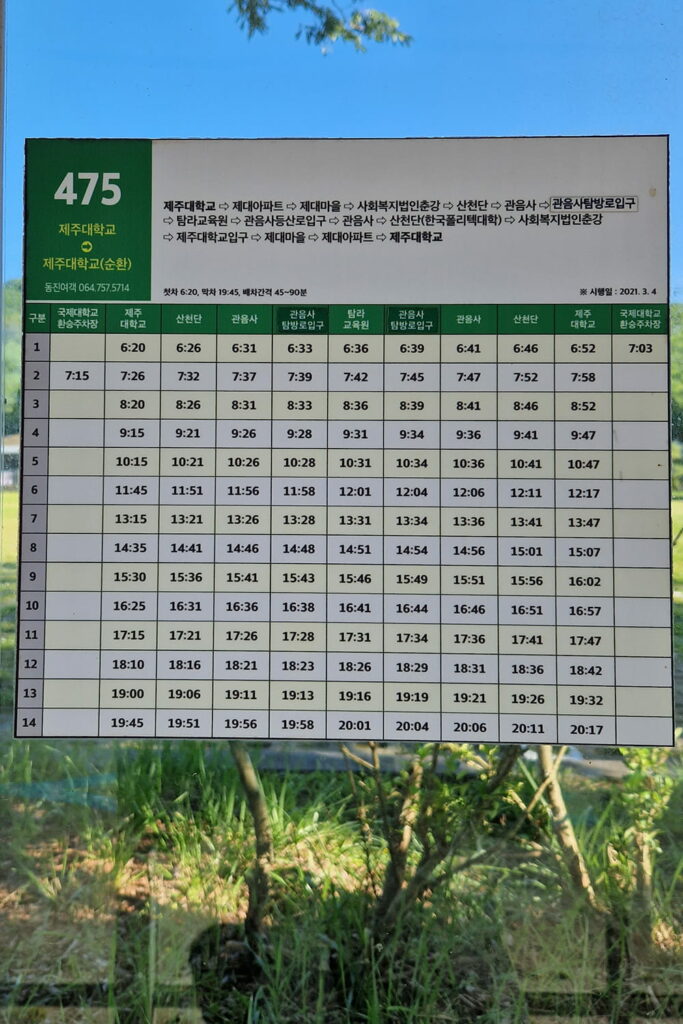
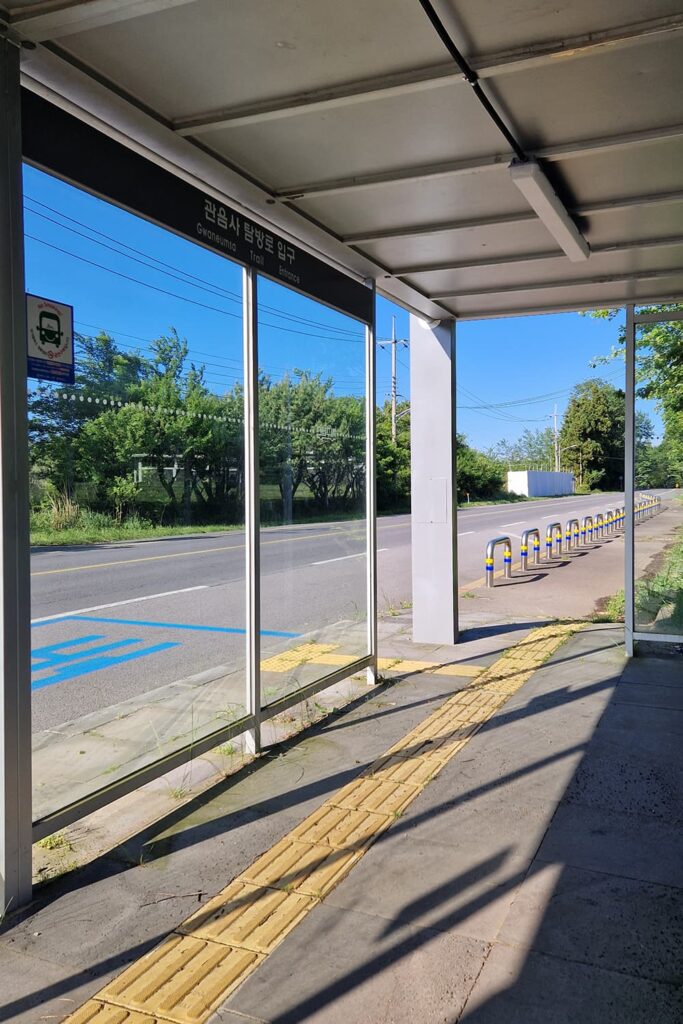
Unfortunately the bus 475 only runs about once per hour, so make sure to plan your exact trip the day before, in order to not loose precious time on the day of your hike!
The best way to find out how to get there exactly from your location is through Naver Map! Type ‘Gwaneumsa’ and then scroll a little left until you see an icon with ‘Gwaneumsa Temple District Camp Site’. Mark the latter as the place you wish to go ‘To’. ‘From’ will be your current location.
We actually would not recommend hiking Gwaneumsa Trail from Seogwipo. However, if you insist on doing so, to get there you will need to take the bus 232, 281 or 182 (Express Bus) towards Jeju-City and then switch to the bus 475. This route will take anywhere between 1-2 hours depending on the bus connection.
For those that rent a car on Jeju Island and wish to get to the starting point of the hike by rental car, which is actually more advisable if you wish to be more flexible, there is a huge parking lot right in front of the Gwaneumsa Information Center.
How to get to Seongpanak Trail?
The starting point of Seongpanak Trail is located on the Seongpanak Service area. There is a visitor information center as well as a parking lot located here as well. Getting to the starting point of Seongpanak Trail is easier, since the latter is frequented by several busses.
The best way to find out how to get there exactly from your location is through Naver Map! Type ‘SeongpanakRestArea’ and mark the latter as the place you wish to go ‘To’. ‘From’ will be your current location.
To get to Seongpanak Trail from Seogwipo, take either the bus 281 or 182 (Express Bus) towards Jeju City. The bus ride will take about 30 minutes and your bus stop is located just in front of Seongpanak Rest Area.
To get there from Jeju City is pretty similar. Take either the bus 281 or 181 (Express Bus) towards Seogwipo, then exit the bus at Seongpanak Rest Area. From Jeju City, the bus ride will take about 30 minutes as well.
Good to know: If you plan on hiking let’s say Seongpanak Trail on your way up and Gwaneumsa on your way down, you can get a taxi from the starting point of one trail to the starting point of the other to get back to your car after your hike. We saw quite a few people do this and there were taxis waiting at the bottom as well.
Are you in the middle of planning your trip to South Korea? Find all our guides on the South Korea Travel Guide Page!
How to prepare for hiking Mt. Hallasan
Apart from going on long walks and taking a few more stairs then usual, there are a few other things you should prepare before embarking on your hike up Mt. Hallasan!
Where and when should you get your permit?
First of all, you need to make a reservation in order to be able to access both the Gwaneumsa as well as the Seongpanak Trail. But, where can you get it and how long in advance should you do so?
Where do you make a reservation to access Mt. Hallasan?
Let’s first tackle the where question. The process is actually really easy and also free of charge.
All you have to do is head to the official Hallasan visitor website and select the trail you wish to do. Select the one you will take to get to the top since they check the permit in the morning at the trail entrance.
Choose a date and indicate the number of people in your travel party (up to 4). If you travel as a couple for instance, only one of you has to make a reservation. Simply indicate that there will be two coming on the hike.
You also need to choose a time period, when you would like to start the hike. These vary depending on the season. For us in June, we had the choice between 5:30-8:00 a.m. and 8:00-10:00 a.m.! Just make sure that you present yourself at the trail entrance within the time slot you chose.
If you plan on getting to the trail head via public transport, maybe opt for the second slot. Busses resume their operation somewhere between 6:00-7:00 a.m. depending on the bus line. So, getting there within the first time slot is possible but could be tight, especially if you happen to miss one bus.
After having completed the whole process, they will send you a QR code via e-mail, which you have to present before being allowed access on to the hike towards Mt. Hallasan.
How much in advance should you make your reservation?
You actually cannot make a reservation months in advance. The website only allows to make a reservation 1-2 months prior to your trip. That said, the earlier you do it, the better.
That’s why we would suggest to do it as soon as you can, especially if you plan on visiting during a holiday, on a weekend or in general a more busy period.
What to wear and what to pack for hiking Mt. Hallasan
What you should wear and what you’ll need depends quite a bit on the weather you’ll encounter. Since we encountered both rain and sun, we had to be prepared for both scenarios!
👟 What to wear:
Typically for hiking the “onion principle” works best when it comes to clothing!
- T-shirt or Top
- Fleece Jacket or pullover
- Leggings (women) or sweatpants
- Running shoes, if it is dry – otherwise hiking boots will be better.
🎒 What to pack:
- Water, snacks and something for lunch (there won’t be an opportunity to buy anything on the trail so you’ll need to bring your food with you!)
- Sunhat, sunglasses and sunscreen
- Rain jacket as well as a rain cover for your backpack (depending on forecast)
- Camera or your phone to take pictures
- Small Towel (if you sweat a lot or it rains a lot)
What is hiking Mt. Hallasan like? Our experience on the Gwaneumsa Trail
1. Getting There
We stayed in Jeju-City and made our way towards the starting point of Gwaneumsa Trail bright and early. Which was a good thing as we had chosen the first time slot (i.e. had to be there by 8:00 a.m.) to start the hike and needed to get there by public transport.
We took the earliest bus out of the city and still managed to miss the 475 somehow. This resulted in us stranded at a bus stop in the middle of nowhere with another hiker for about an hour until the next bus came…
But, we made it in time! After the lady at the trail head checked our reservation for the hike, we started hiking Mt. Hallasan around 7:50 a.m., which ended up being a good time to do so.
2. What is Gwaneumsa Trail like?
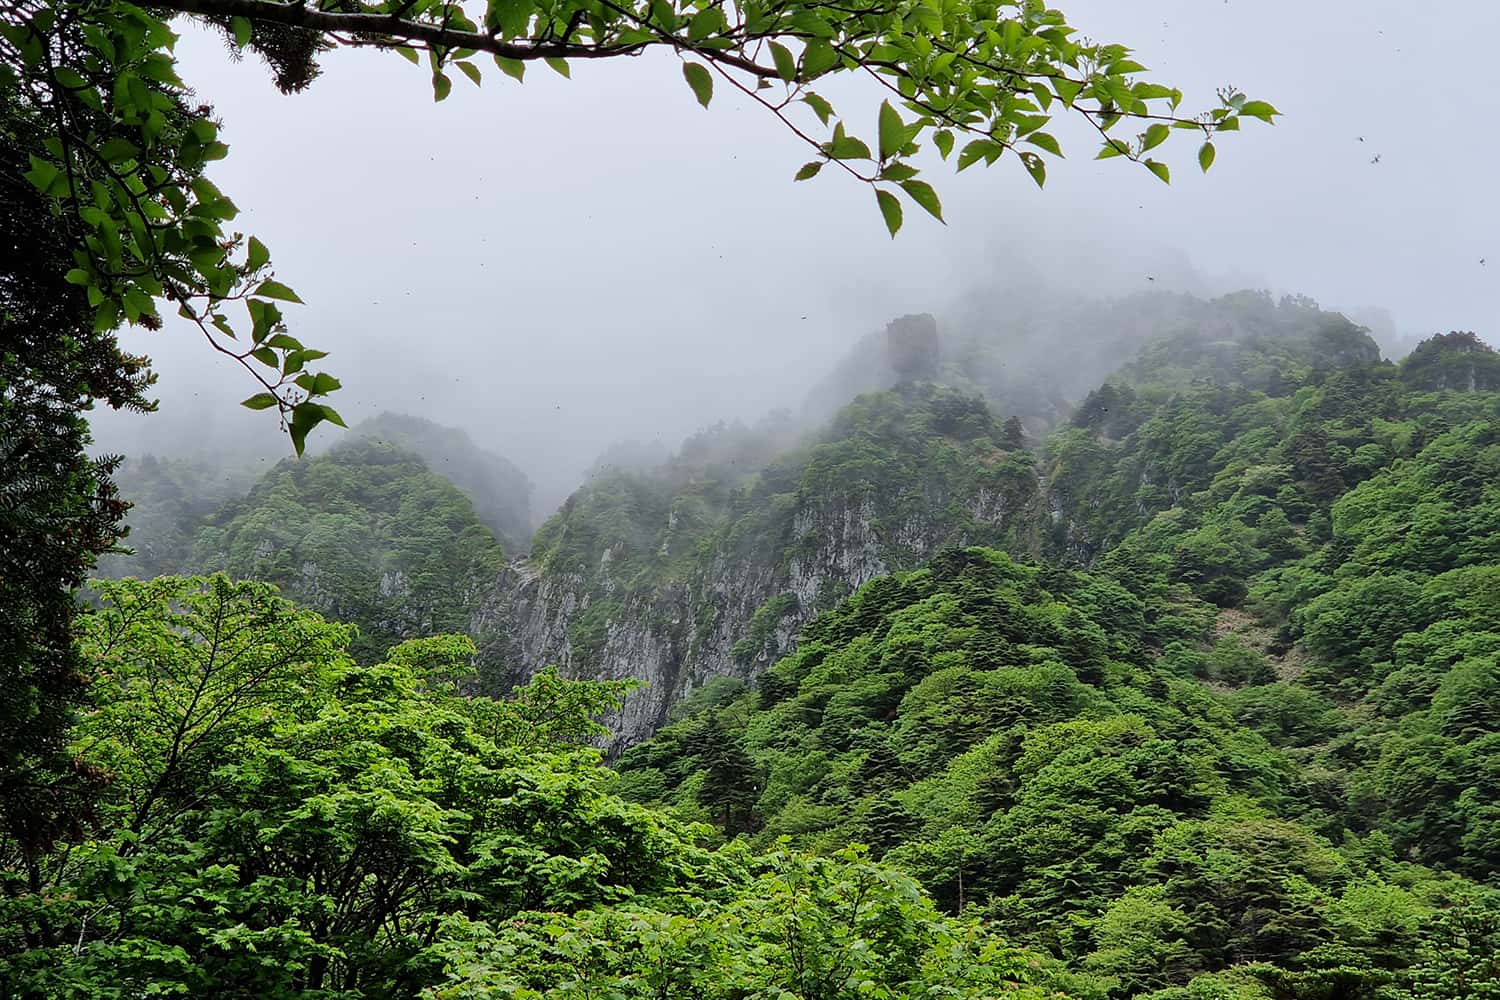
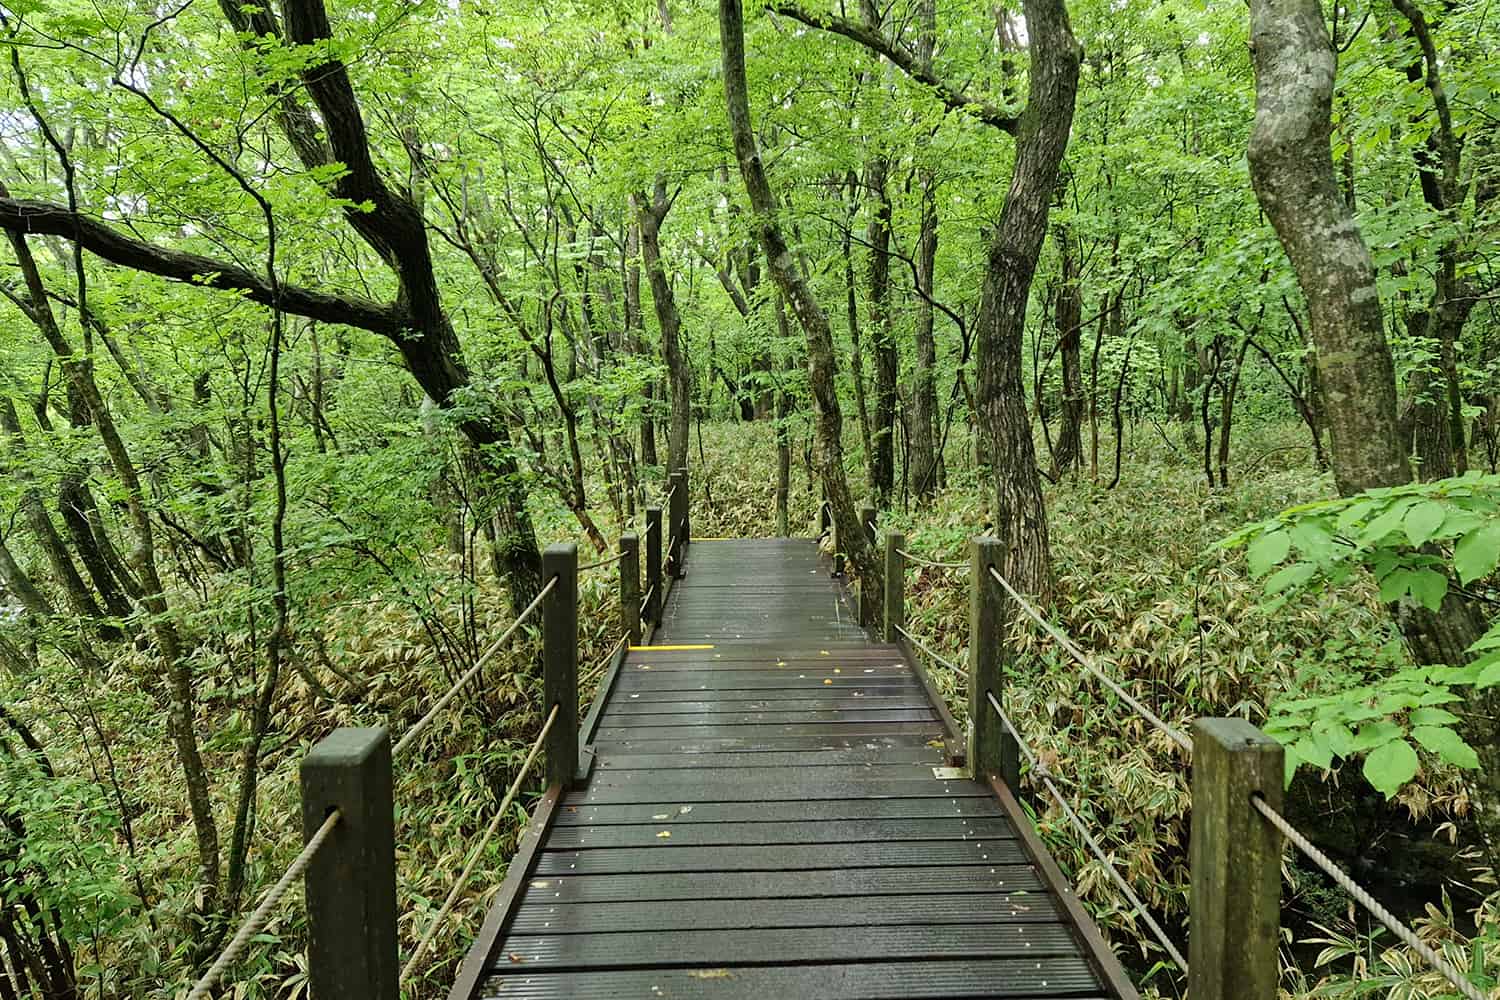
The first six kilometres of the Gwaneumsa trail will mostly lead you through a beautiful forest. Thereof the first 2-3 kilometres are rather gentle in terms of elevation gain. The trail still has quite a few steps. But it is not as steep and there are several wooden board walks in between. The following 3 kilometres is where it gets hard!
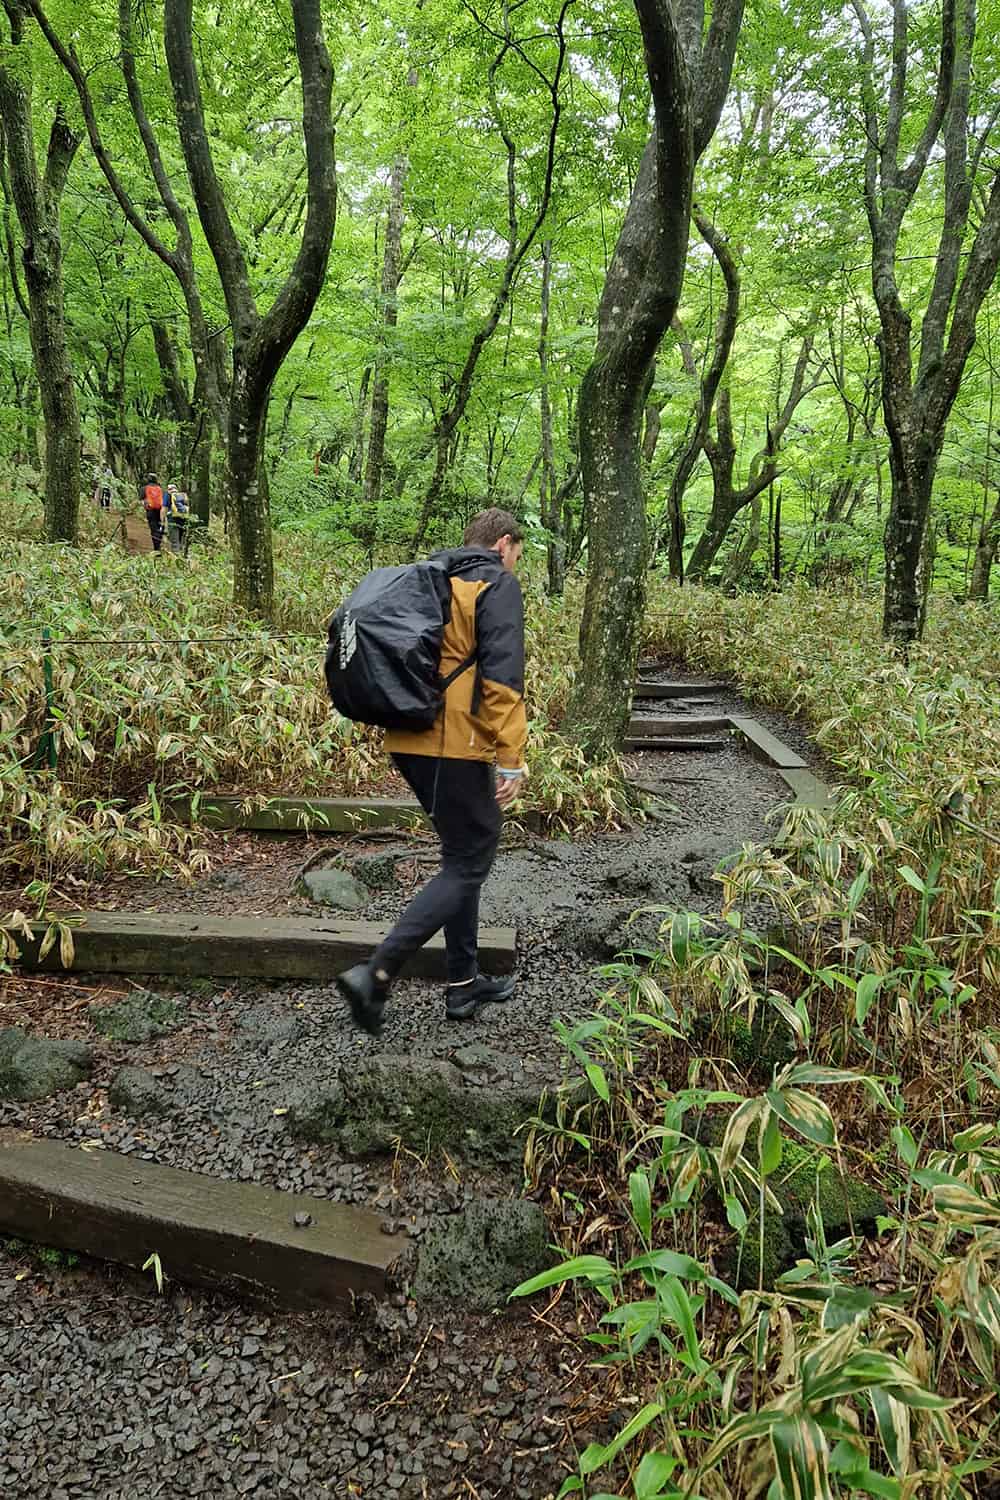
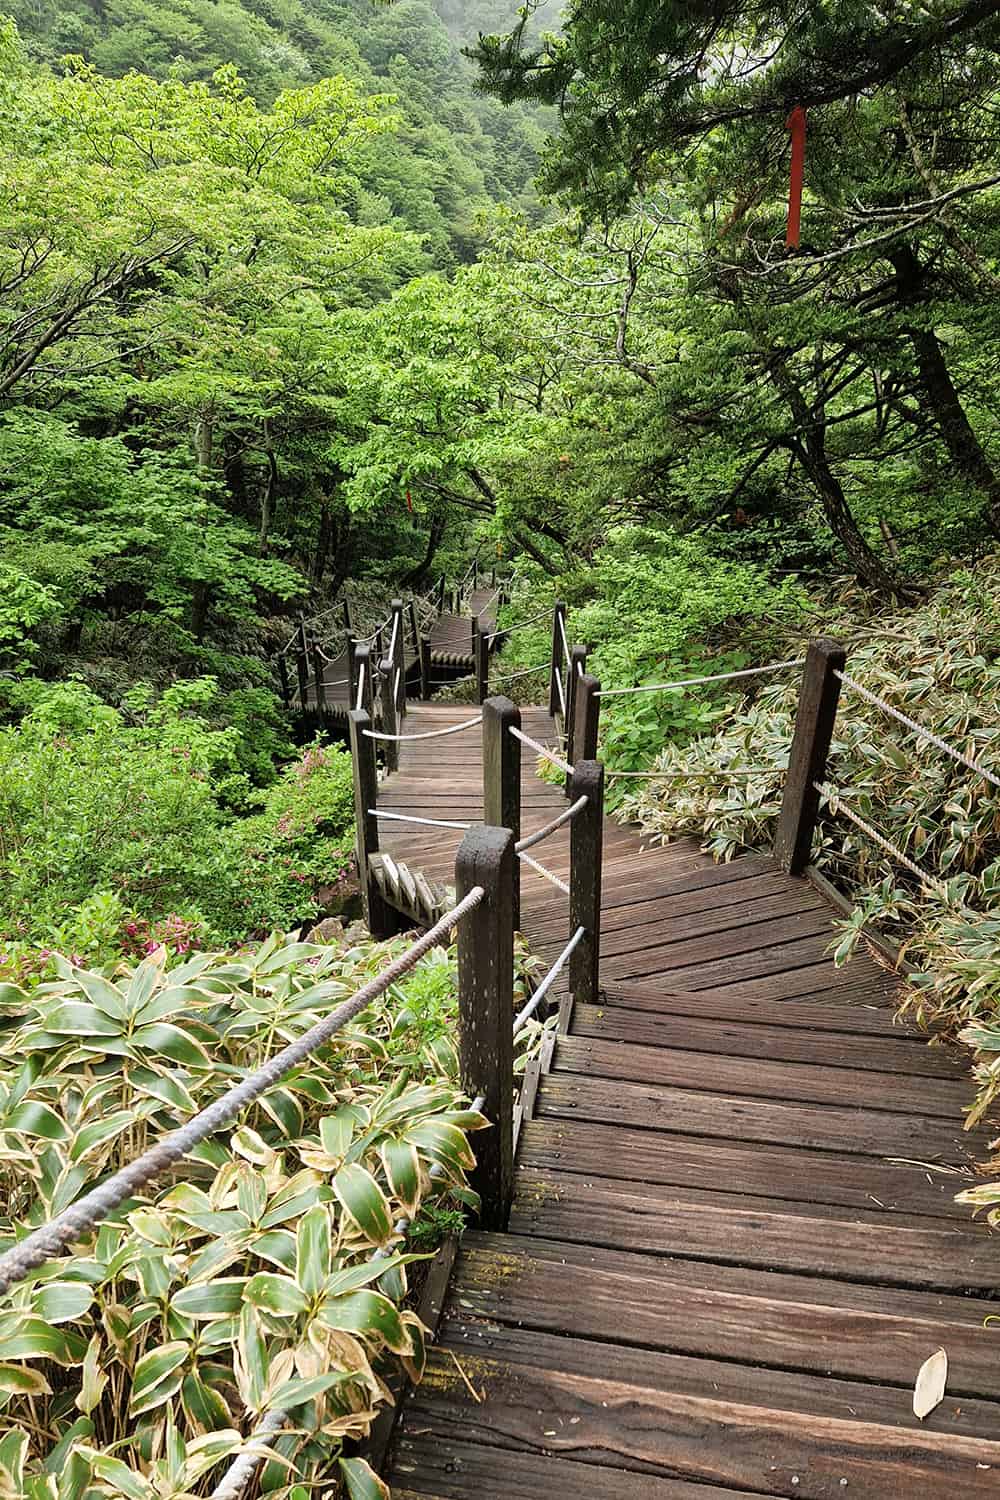
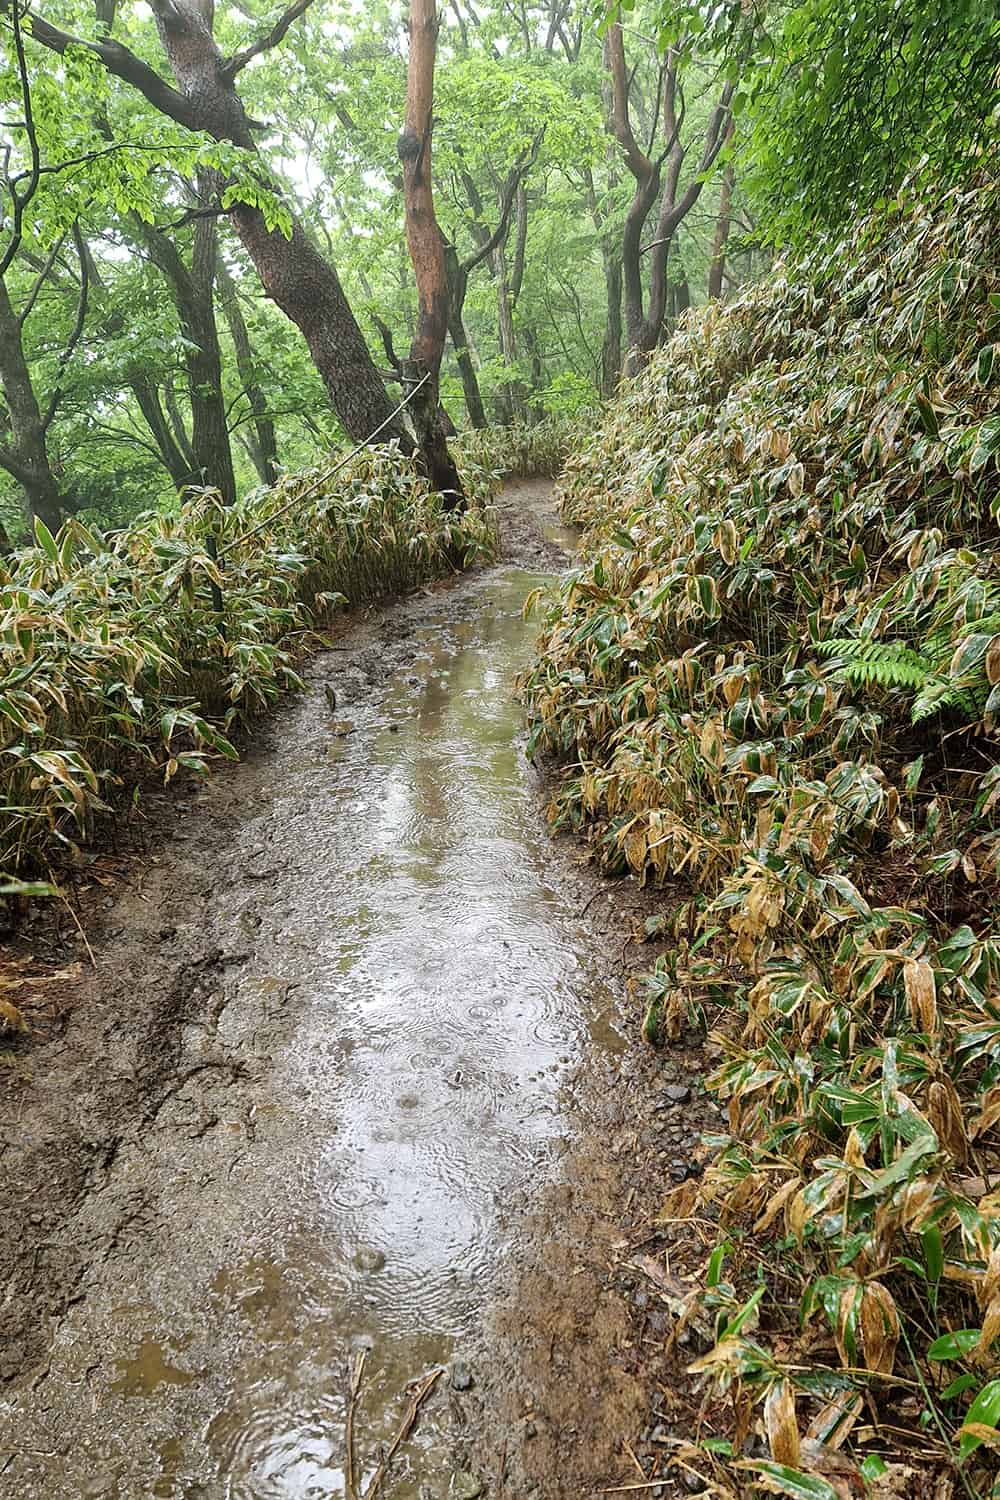
Unfortunately it rained quite a bit during those first few kilometres of the hike. The trail was quite muddy and parts of it where flooded. And so our feet where wet when we arrived at Samgakbong Shelter.
We reached the shelter after more or less 3 hours of hiking. Since the shelter provides a roof, some dry seating as well as toilets, we decided to have an early lunch here and wait out the rain since the forecast promised slightly better weather at noon.
IMPORTANT:
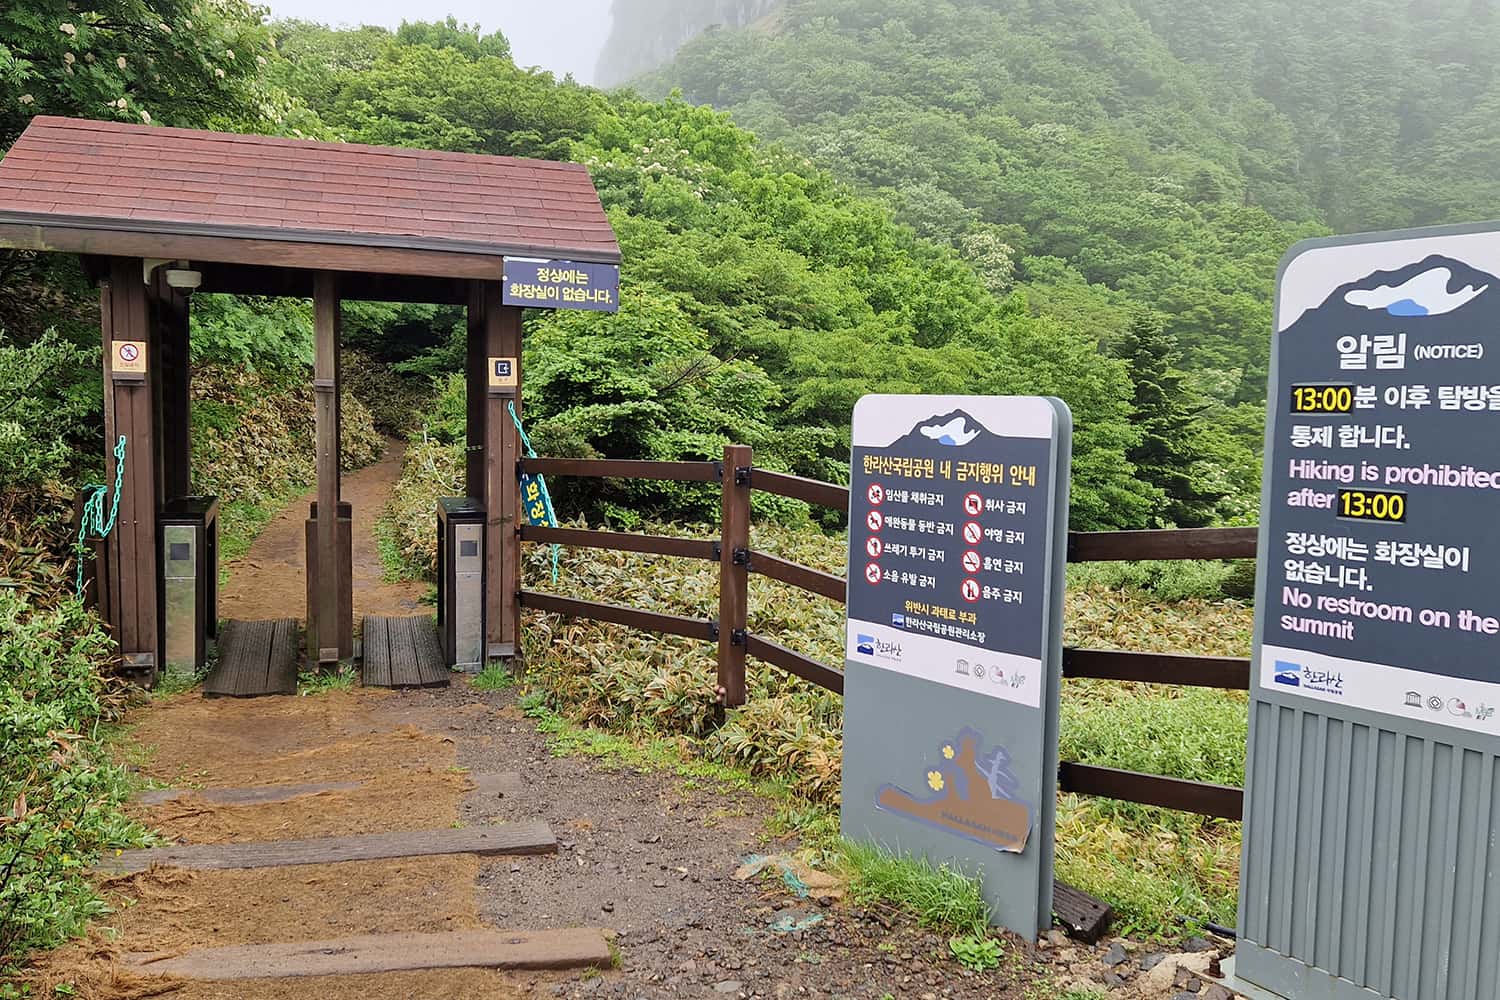
You need to be at Samgakbong Shelter by 1 p.m.! If you arrive later than that, you won’t be allowed access to the second part of the trail anymore!
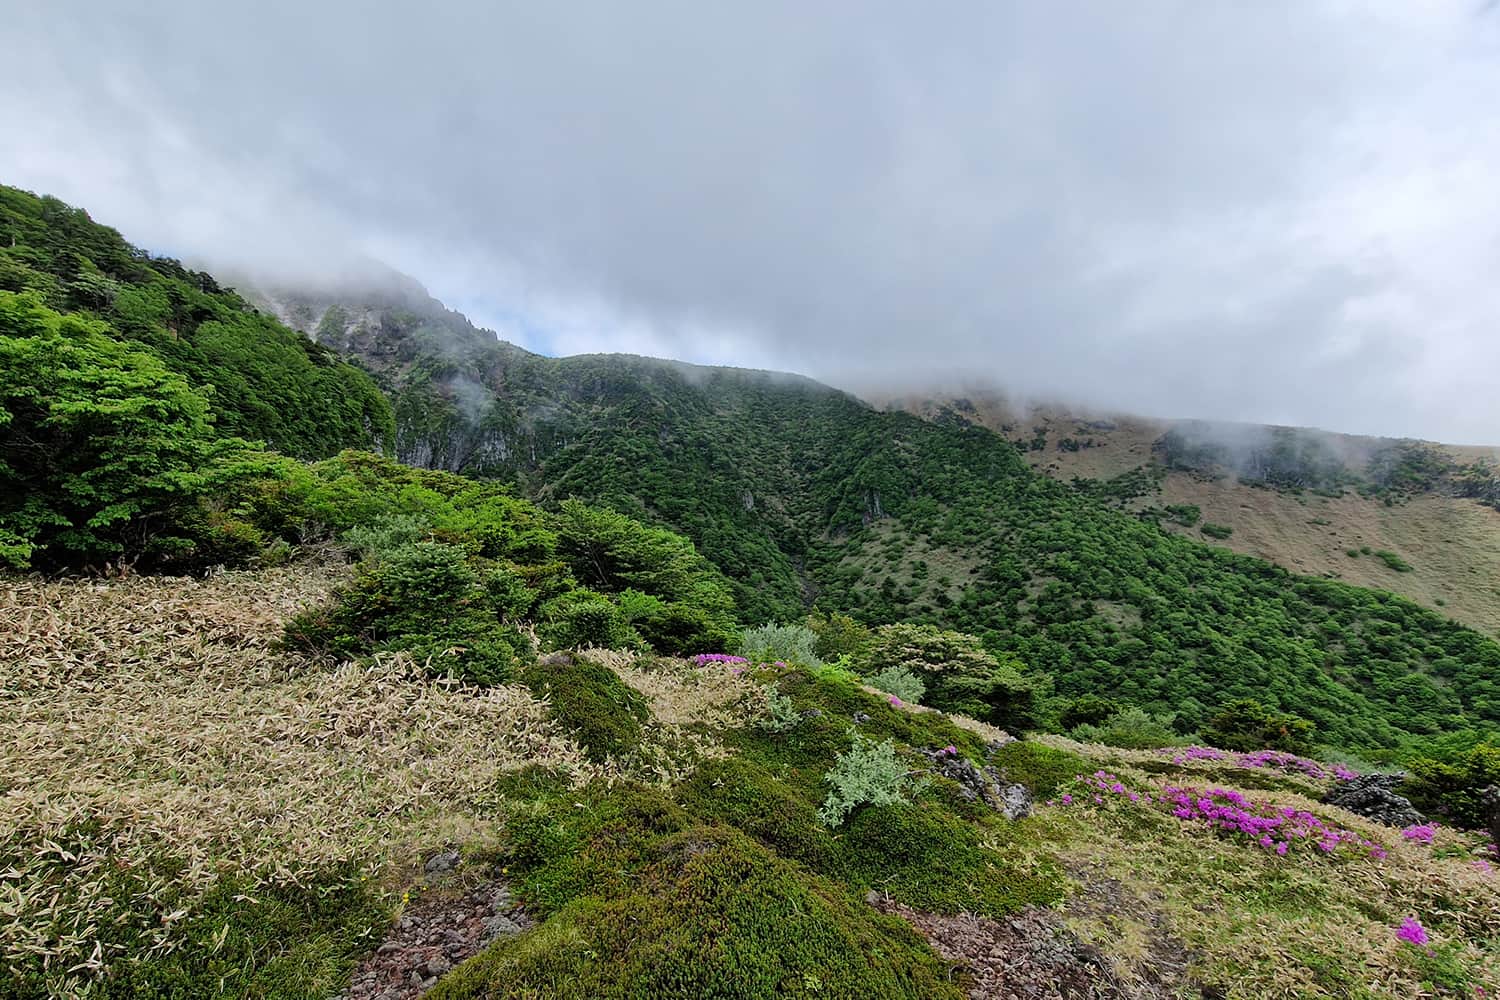
Samgakbong Shelter is actually where the scenic part of the hike starts. Once you make it through the entrance gate to the second part of the trail, you’re about to tackle the last 2.7 kilometres of the hike! Yay!
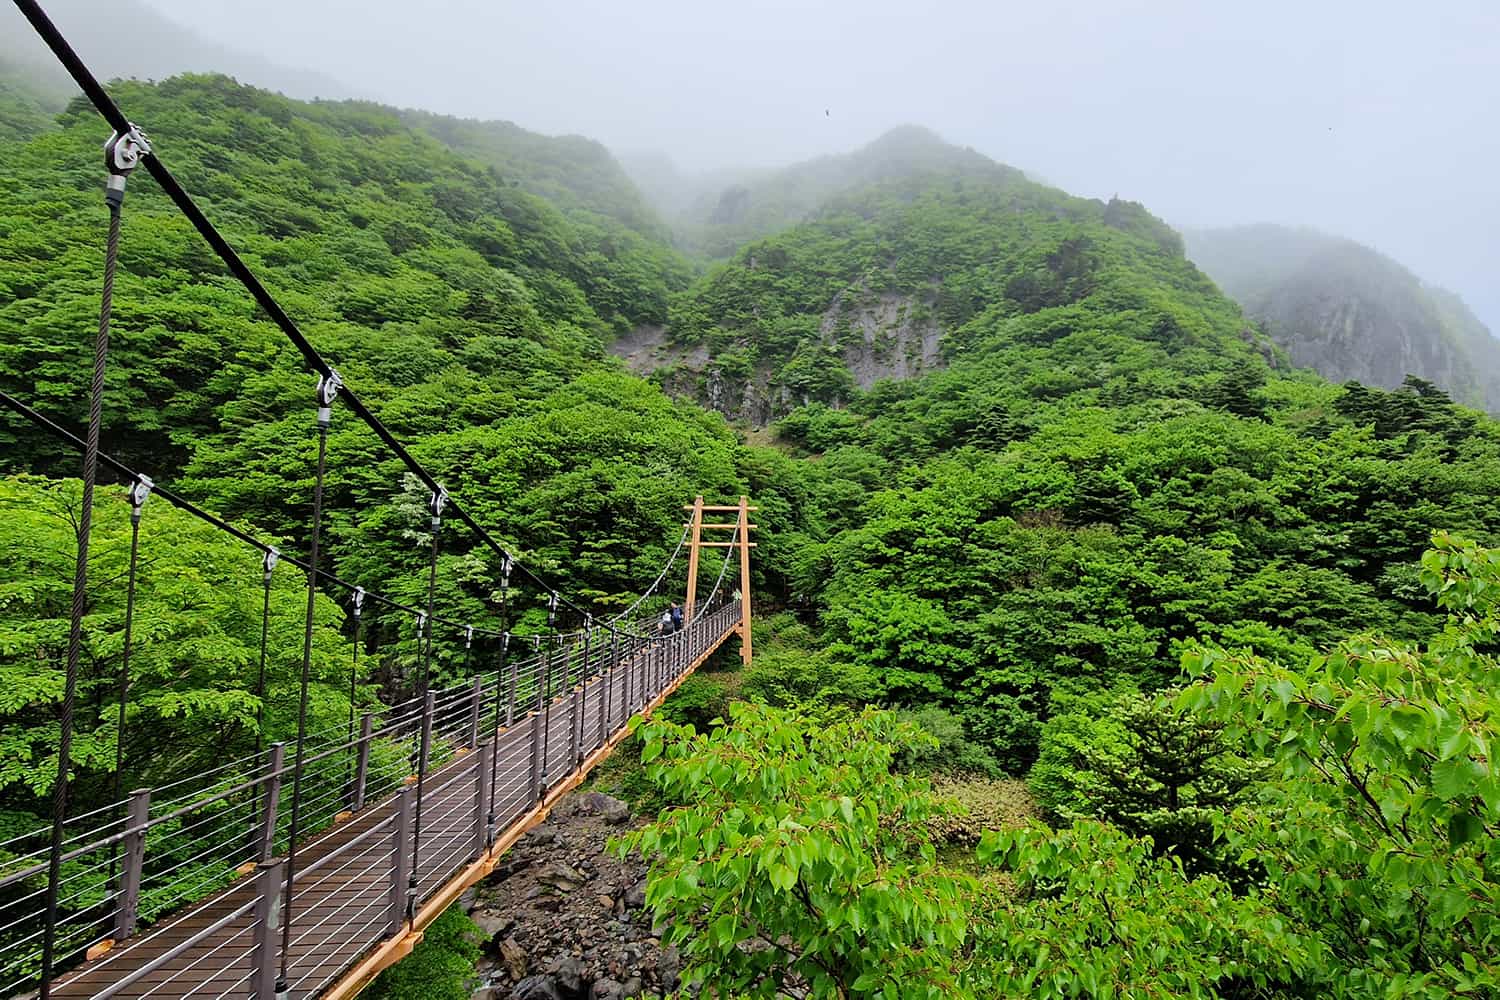
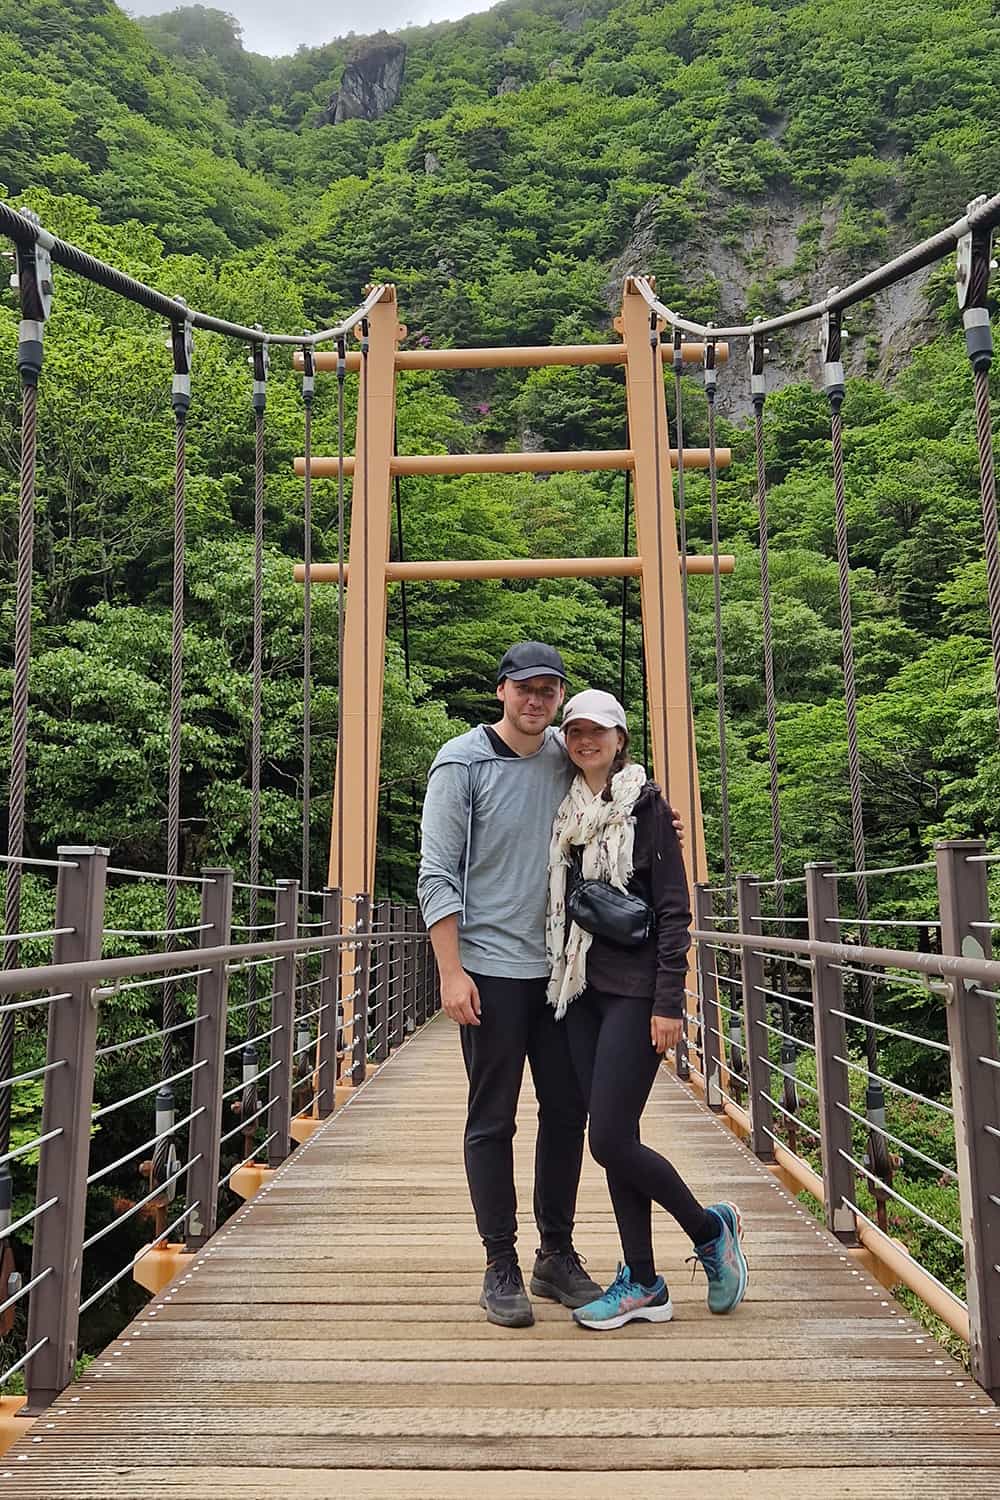
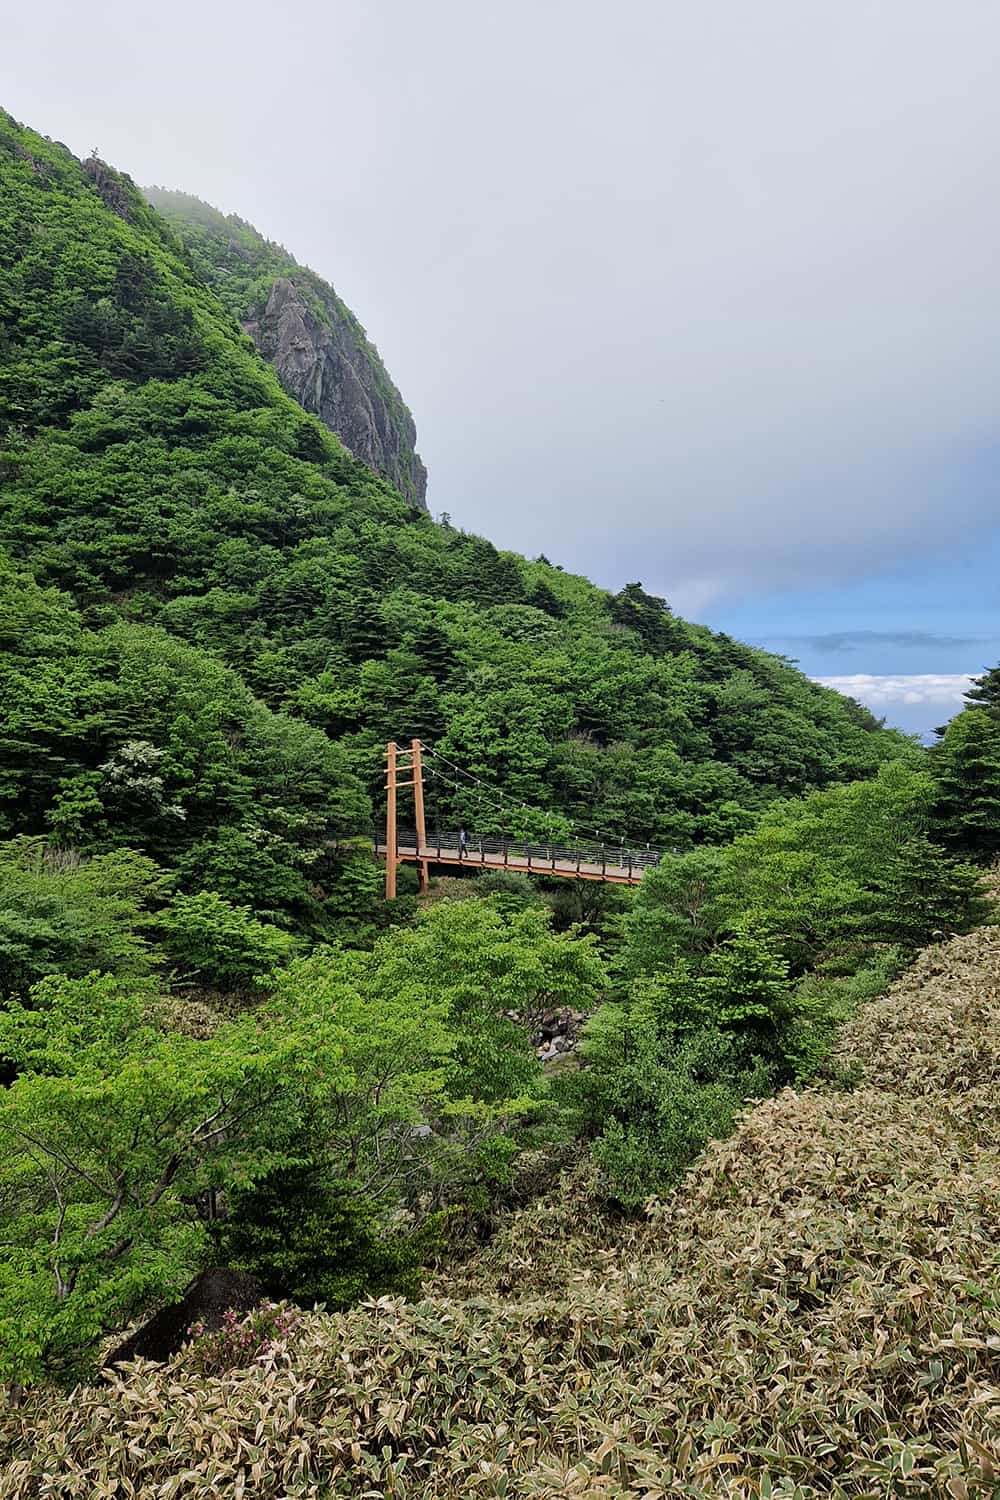
The next few hundred meters are actually pretty easy. Not far behind the shelter you’ll find a stunning suspension bridge that makes for an awesome photo-spot!
After the suspension bridge, you’ll reach the final climb. Not going to lie, it won’t be an easy one and it won’t be quick. But you’ll be surrounded by stunning nature and views! Also, on the last stretch, the support you’ll get from other hikers is simply awesome.
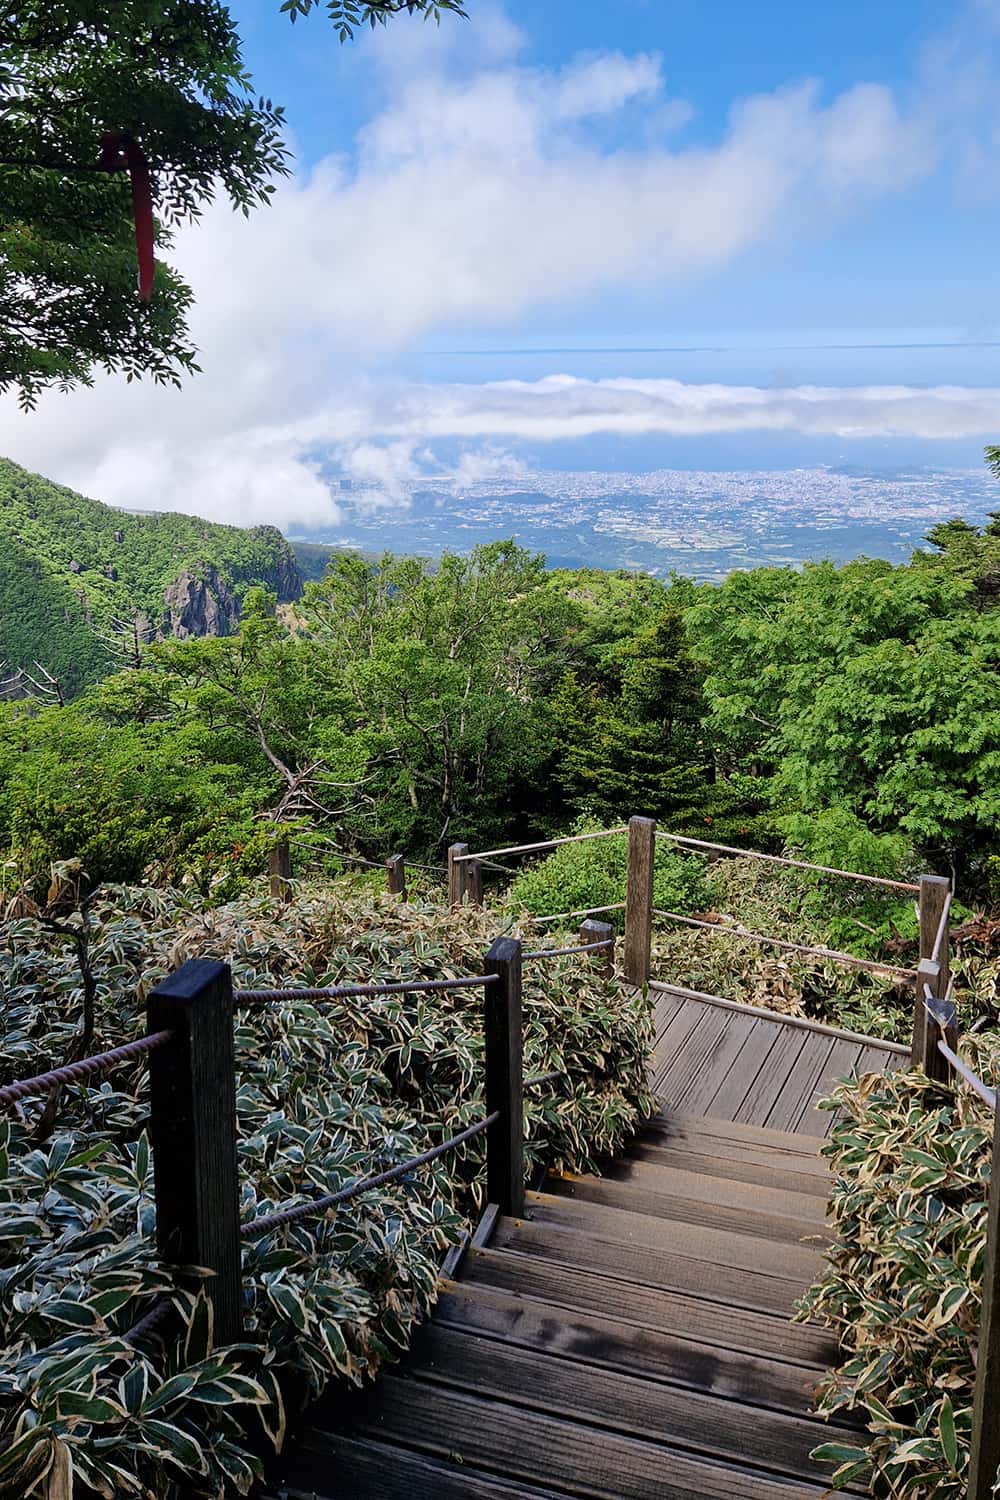
Since by then, the first people already made it to the top and have started their descent, you’ll hear quite a few encouraging words and many ‘Fighting!’s along the way to keep you motivated.
3. Reaching the Summit!
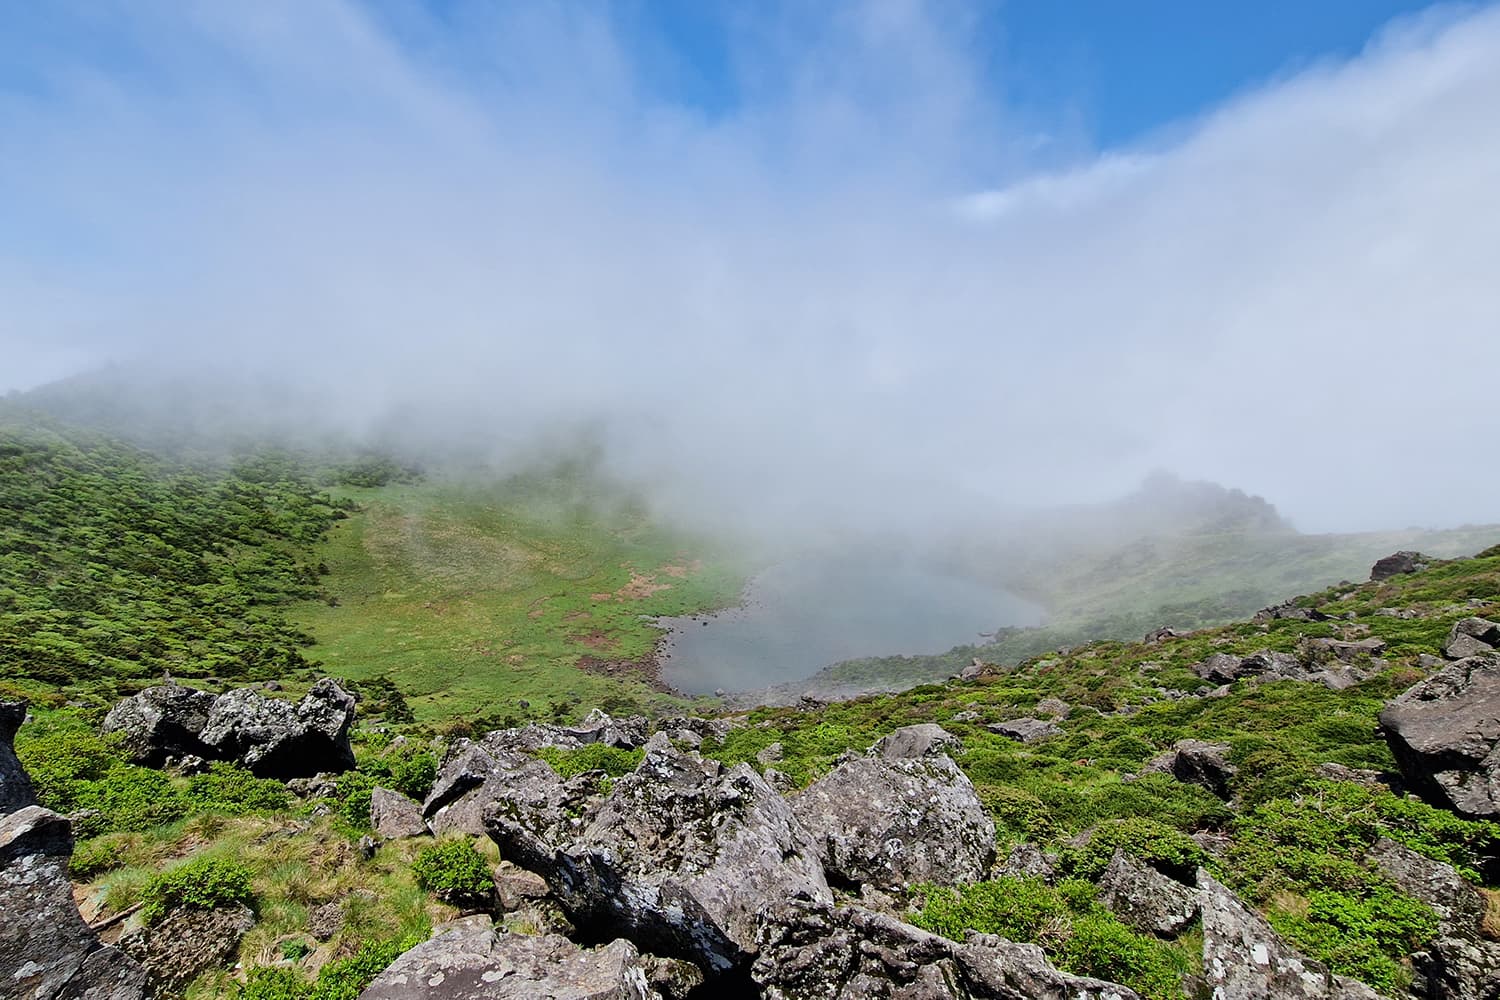
When we made it to the top, the crater of Mt. Hallasan was covered by clouds at first. We were a little disappointed that we might not get to see the iconic lake that’s located within. But soon, a ‘Wow’ went through the crowd. And when we looked, the clouds had dissipated and we were met with the most stunning view.
The only not so pleasant thing were the million bugs that swarmed the whole peak of Mt. Hallasan. If you have an insect phobia, you should mentally prepare for this. They were everywhere and kept bumping into everyone and everything!
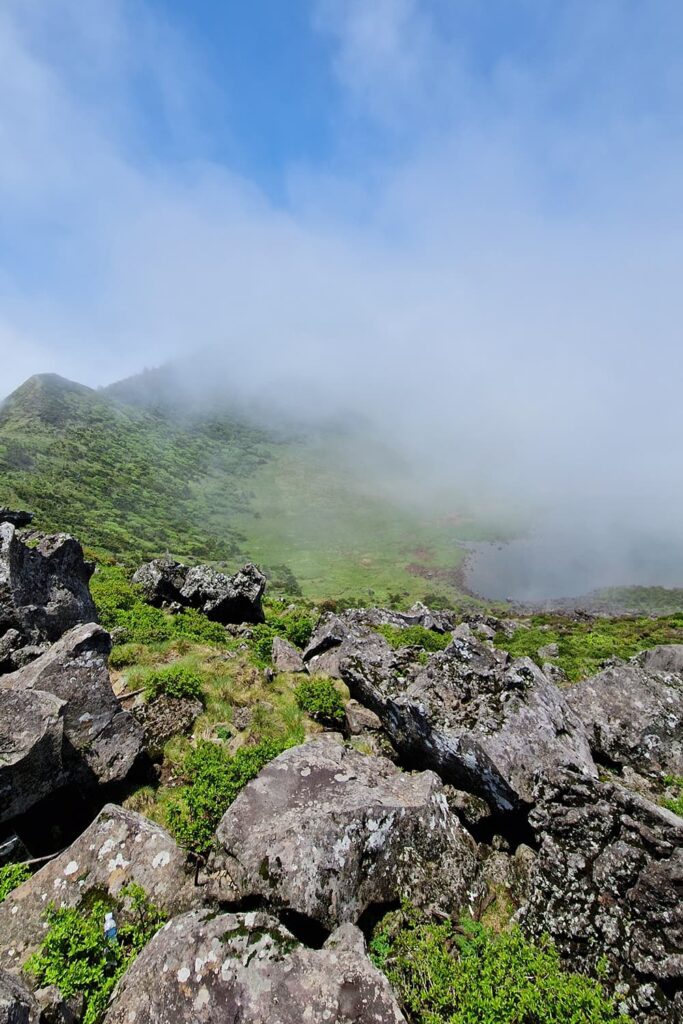

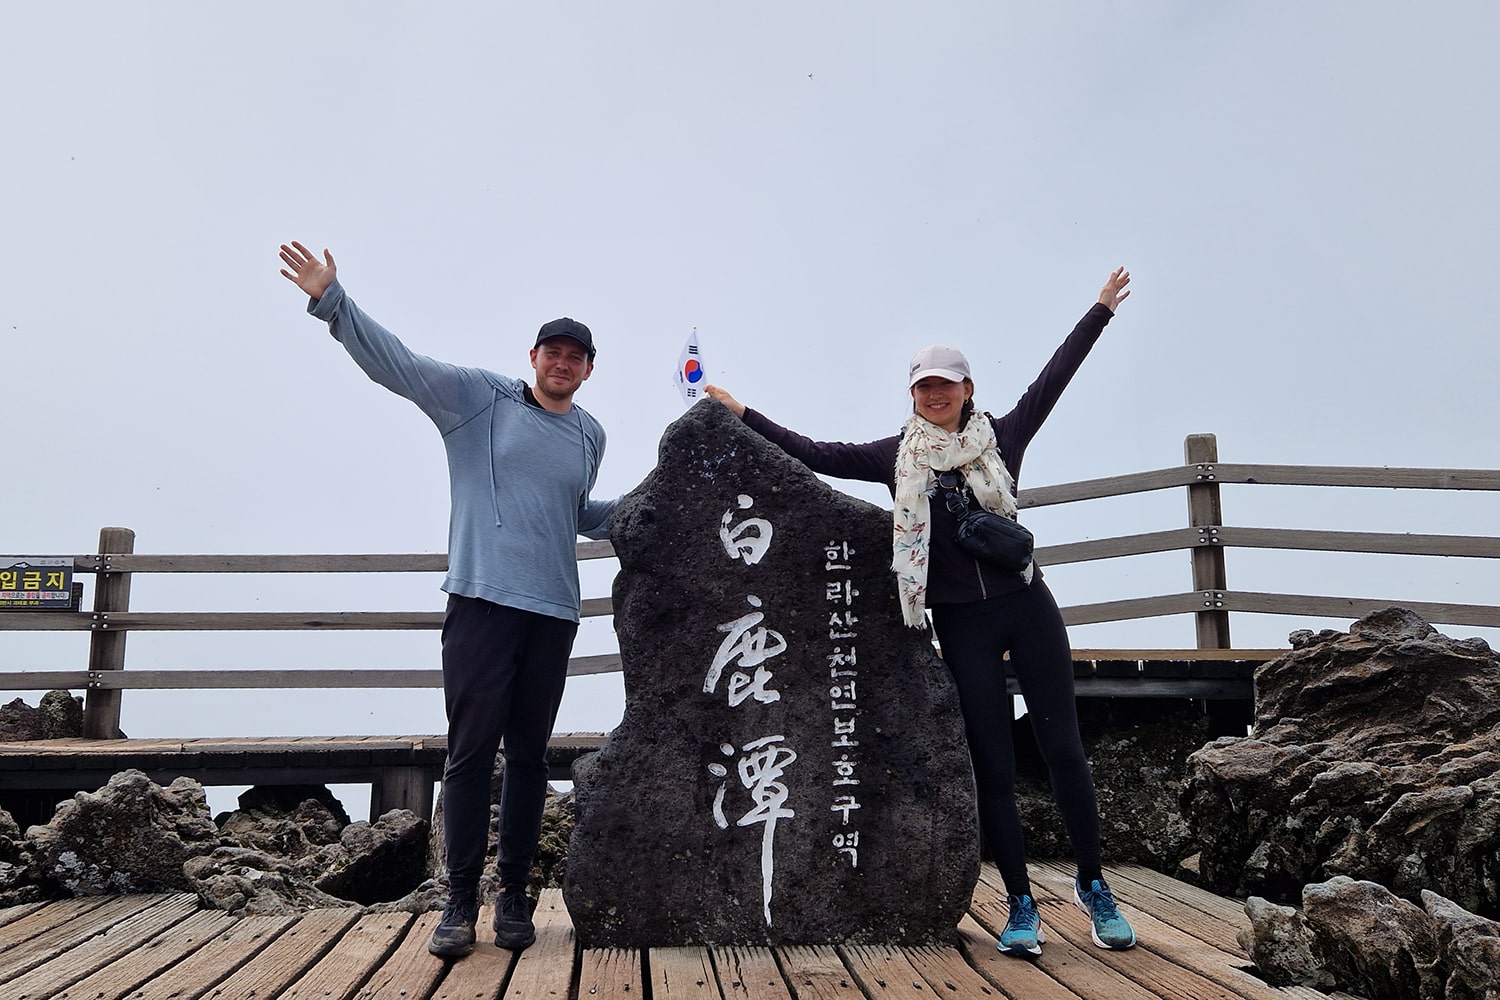
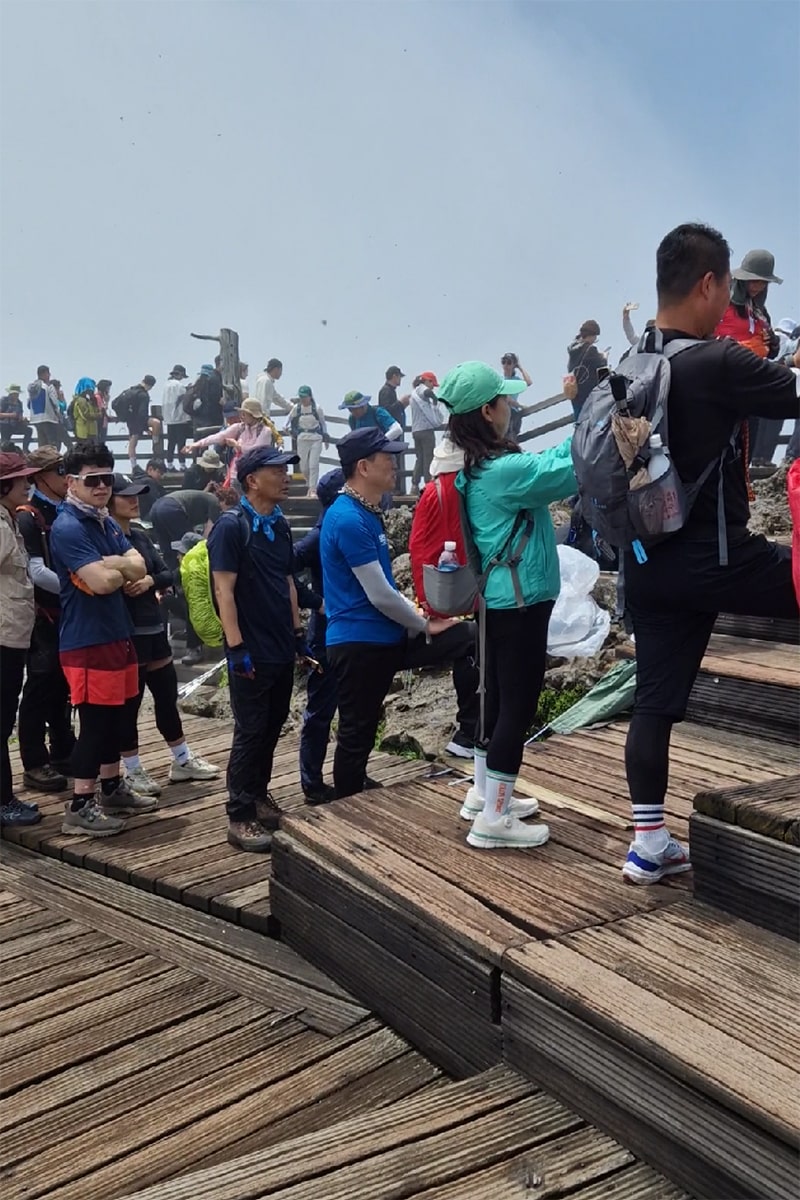
While waiting in line to get our Mt. Hallasan peak photo, the sweet lady behind us kept driving the bugs away from our clothes and backpacks. She spoke no English and we no Korean but it was a wholesome interaction.
And yes in true Asia-fashion there is probably going to be a line at the peak. But, we decided we would get a picture anyway, you only do this once right?!
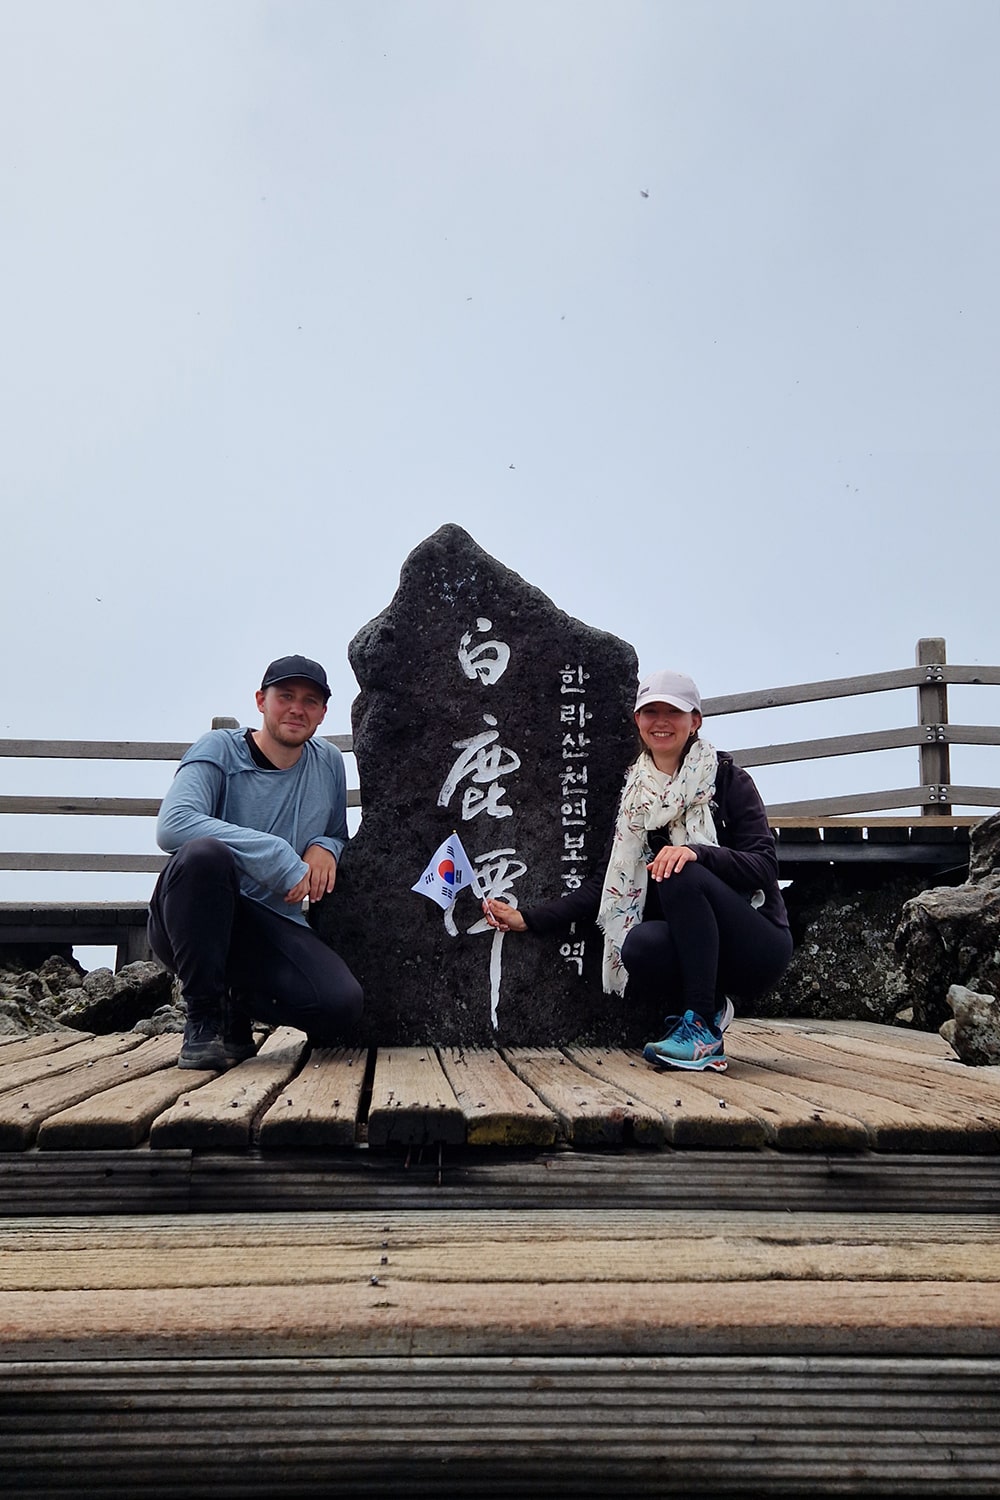
We were also offered a tangerine by another elderly Korean couple. We think they deemed our chocolate bars not as appropriate food to eat on a hike. Needless to say, I think the peak of Mt. Hallasan is where we met the most friendly people in a short period of time.
4. Getting Back Down
Then it was time to make our way back down. It was long and exhausting and our knees were not particularly happy with us. But, we made it down a little after 4 p.m.!
This means that the whole hike took us approximately 8 hours, including nearly an hour at the top and at least half an hour at Samgakbong shelter. We are not the slowest of hikers though, so you might need longer or less long who knows!
Final thoughts on hiking Mt. Hallasan
Hiking Mt. Hallasan was definitely one of the highlights of our Jeju trip. And if you are someone that enjoys hiking, we think it is an absolute MUST when on the island.
Not only will you meet some of the most lovely people. But you’ll also get to tell the amazing story of how you stood on the highest peak in all of South Korea!
We hope that we were able to answer all your questions surrounding how to plan your hike up to the summit of Mt. Hallasan in this guide! And with that, there is nothing left to say but happy hiking!

